1. heroku [remote rejected] master -> master (pre-receive hook declined) 에러
git push heroku master(나같은 경우는 git push heroku main) 명령어 치는데 계속 저 에러가 떴다
원인은 브랜치 생성할 때 main 브랜치가 Protected branches로 설정돼서 Developer는 push할 수 없다는 거였다..
그래서 중요도에 따라 Maintainer가 처리하거나 Developer가 직접 처리할 수 있도록 권한 설정할 수 있다
바로 gitlab에서!
GitLab의 Project에서 Settings -> Protected branches로 들어가면 권한을 변경하거나 사용하지 않도록 변경할 수 있다.

이렇게!
근데 난 이렇게 해도 안됐다..
2. Node.js application not detected by Heroku
해도해도 안돼서 에러 내용 구글링하니..
Node.js application not detected by Heroku
I created a small site in Visual Studio and used Node.js and Express. I can access it via Visual Studio and with Heroku local web. However, when trying to push it to Heroku, I get the error: Appli...
stackoverflow.com
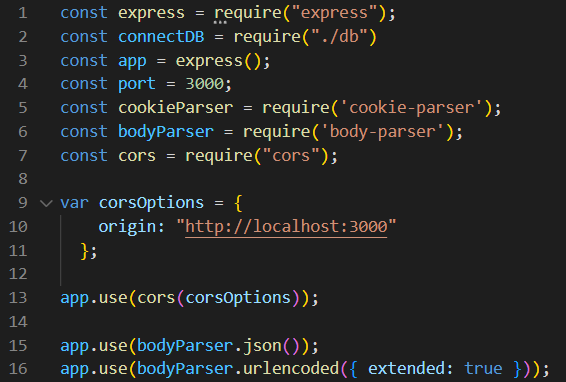
루트 디렉토리... error에서 이미 방향 제시를 해줬건만 난 이미 루트 디렉토리에 package.json 위치 맞는 줄 알고 계속 나둠
알고보니 node 코드들 있는 폴더 상단에 두라는 거였구먼
이거덕에 해결했다!

'Backend > nodejs' 카테고리의 다른 글
| [AWS S3] S3 사용하기 ( aws-sdk, multer-s3 모듈 ) (0) | 2022.09.18 |
|---|---|
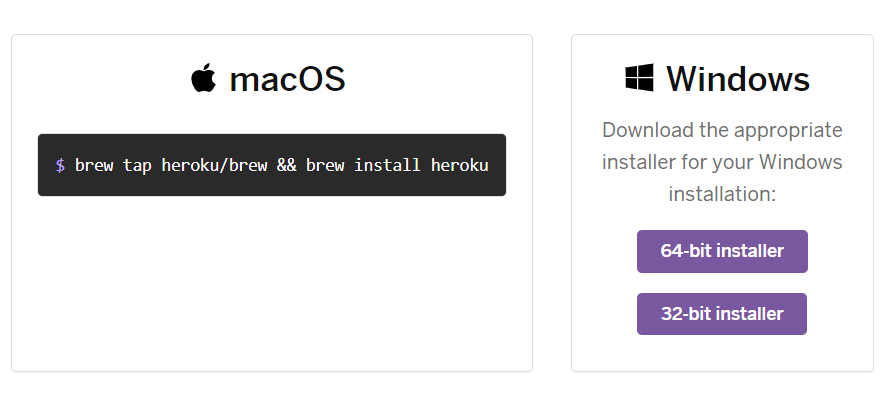
| 헤로쿠(heroku)로 Node.js 배포 (0) | 2022.09.18 |
| [Node.js] Re:웃주민 로그인 api 구현 (0) | 2022.09.11 |
| [Node.js] Re:웃주민 회원가입/jwt token api 구현 (0) | 2022.09.11 |
| [Node.js] app.js 포함 모듈들 (0) | 2022.09.11 |